The Raspberry Pi (Raspberry Pi is a trademark of the Raspberry Pi Foundation) embedded computer has become immensely popular over the last years. Great specs combined with a ridiculously low price has made this embedded system a hit among many a hobbyist.
Of course, I could not resist acquiring version 2 when it hit the stores around February 2o15, and here I will present a few interesting projects you can do with this device 🙂
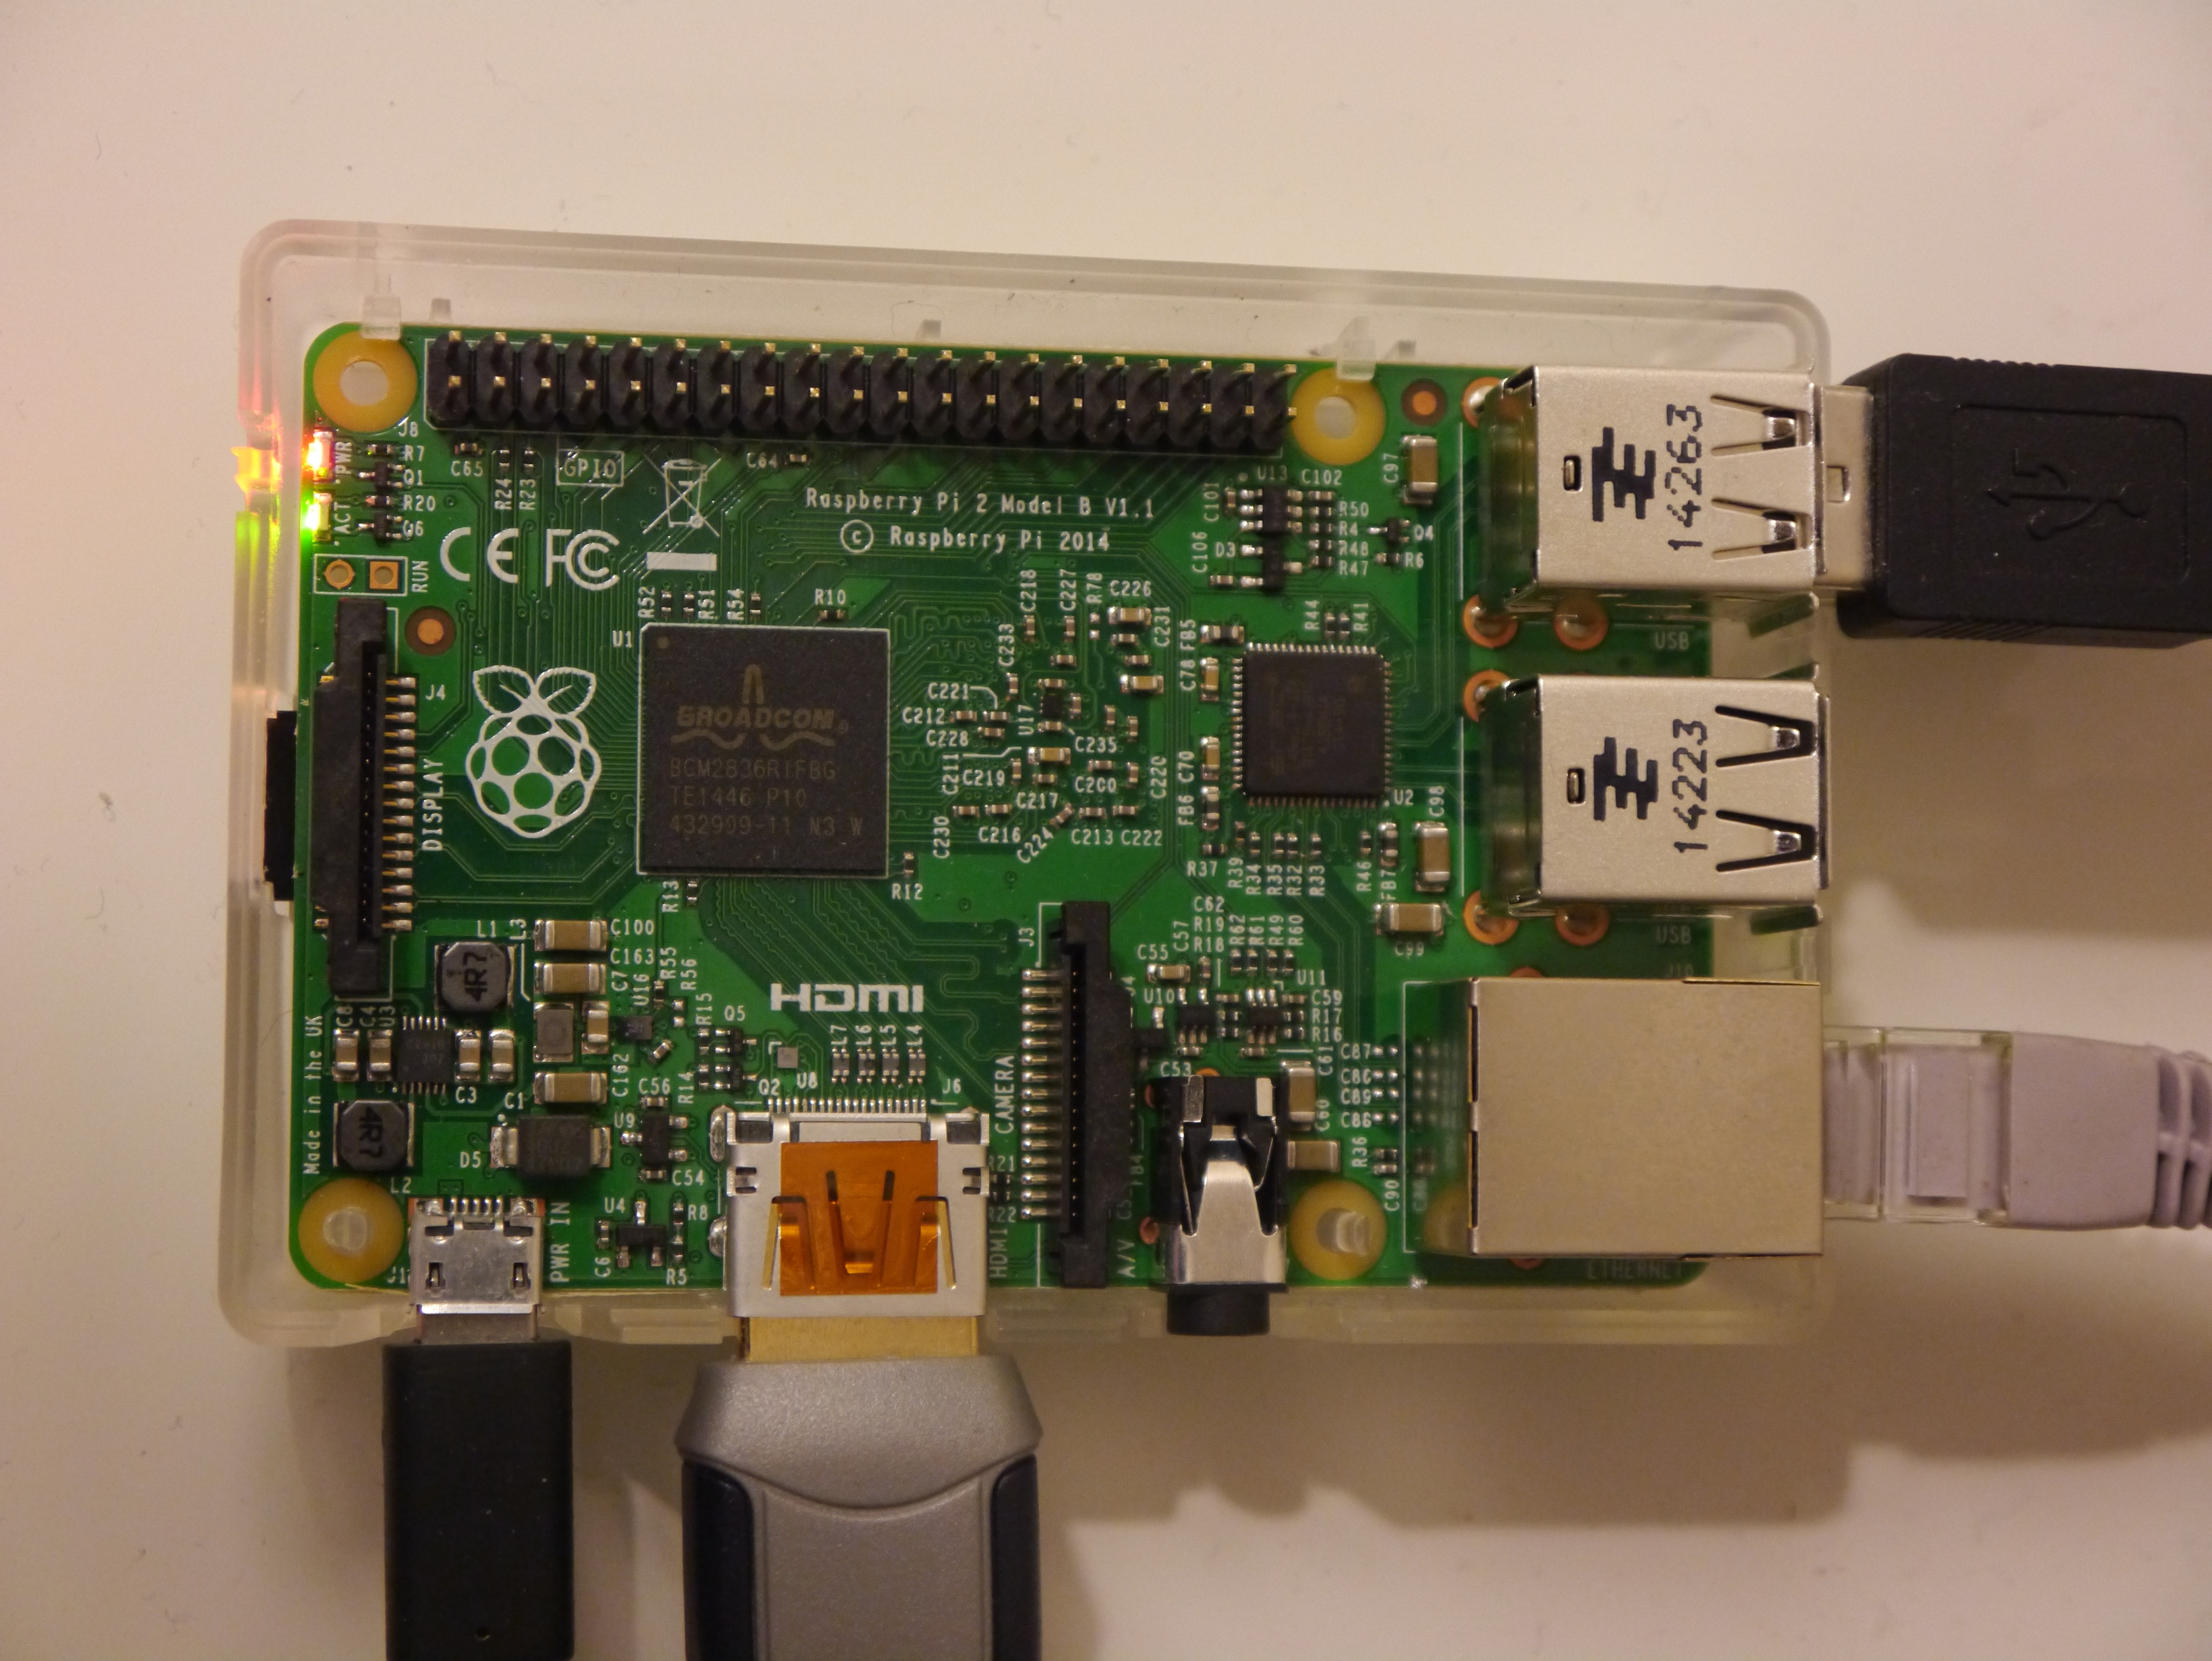
The PI with USB power, HDMI, Ethernet and two slave USB devices connected.
Installation
First of all you should install some operating system (OS) on your Pi. Here, the possibilities are almost endless, but i would recommend Raspbian which is probably the most used an supported OS at time of writing. Instead of providing detailed instructions here, I do recommend using this page https://www.raspberrypi.org/documentation/installation/installing-images/README.md. Get yourself a microSD card of at least 8 GB size and preferably with decent read/write speed and download the required files stated in the link. You may use the NOOBS package which is fine, but I found the image method to work just as well. Place the microSD card into an adapter, plug it in your PC and follow the guide exactly. Safely eject and put the microSD in the Pi. For the new user, preferably connect a USB keyboard, mouse and a HDMI compatible monitor. This is however not necessary as a SSH server is already running on the Pi, and you can access it remotely by terminal. Using this method you can omit installing a desktop (GUI) all together, but I find in convenient to have as a backup in some situations. If you are unfamiliar with UNIX/Linux systems I would definitely recommend using the GUI. However, this guide will primarily focus on the remote access method. As for the power supply, I suggest using a dedicated USB charger or externally powered hub to on the Pi as it can draw 800 mA @ 5 V.
Once finished, you should be greeted with a desktop:

I recommend changing some of the basic settings. Run
sudo raspbi-config
There are many settings you may want to alter depending on what kind of projects you want to run. A detailed explanation of the settings are available here.
First, change the user password to something secure, change the timezone and keyboard layout to suit your needs. Under “Advanced options”, change the hostname to enable easy identification of your Pi. If you want to access your Pi over SSH, enable the SSH server. This may lead your Pi more vulnerable to outside attacks so I recommend reading up on Pi/Linux SSH security. For many projects, enable SPI, I2C and Serial. The tool will prompt a reboot, select yes and you are done!
This concludes the very basic setup of the Pi. The remaining guides are separated in different pages.
Accessing your Pi through SSH (To come)
Accessing your Pi via a fixed web address (To come)
Setting up a VPN server on the Pi (To come)
Setting up your PI to control HUE lights